

Fire Pit Installation Guide: Step-by-Step for Your Backyard

Installing a fire pit transforms your outdoor space into a cozy retreat. It invites warmth, light, and a gathering spot for friends and family. I will walk you through the essential steps to install a fire pit safely and effectively. Whether you want a simple DIY project or a custom-built feature, this guide covers everything you need to know.
Fire Pit Installation Guide: Planning and Preparation
Start by choosing the right location. Pick a flat, open area away from overhanging trees, fences, or structures. Check local regulations to ensure your fire pit placement complies with safety codes. Measure the space to accommodate the fire pit and seating comfortably.
Next, decide on the type of fire pit. Options include:
In-ground fire pits: Built into the ground for a natural look.
Above-ground fire pits: Portable or permanent structures made from stone, brick, or metal.
Gas fire pits: Use propane or natural gas for easy ignition and control.
Wood-burning fire pits: Classic style that requires wood fuel (generally not permitted in San Diego)
Gather your materials and tools. Common supplies include:
Fire-resistant bricks or stones
Gravel or sand for drainage
Fire pit ring or metal insert (optional)
Shovel, level, tape measure
Concrete mix (if building a permanent base)
Prepare the site by clearing debris and leveling the ground. Mark the fire pit’s perimeter with spray paint or string. Dig a shallow hole if you plan an in-ground pit, about 6-12 inches deep.

Building Your Fire Pit: Step-by-Step Construction
Begin by laying a base layer of gravel or sand inside the marked area. This layer improves drainage and prevents water buildup. Spread it evenly and compact it with a tamper or by hand.
If you use a fire pit ring, place it on top of the gravel base. This metal insert helps contain the fire and protects the surrounding materials.
Start stacking your bricks or stones around the ring or perimeter. Use fire-resistant mortar if you want a permanent structure. Check each layer with a level to keep the walls straight and even.
Build the walls to a height of 12-24 inches, depending on your preference and safety guidelines. Leave gaps or vents if you want better airflow for wood-burning pits.
For a concrete base, mix and pour concrete into the hole before laying bricks. Allow it to cure for at least 24 hours.
Finish by adding a layer of sand or lava rocks inside the fire pit. These materials help distribute heat evenly and protect the base.

Do You Need a Permit for a Fire Pit in Your Backyard?
Before you start digging or building, check with your local city or county office about permits. Many areas require permits for fire pits, especially if they are permanent or gas-powered.
In San Diego, regulations may vary by neighborhood. Some homeowners associations have additional rules. Contact your local fire department or building department to confirm requirements.
Permits ensure your fire pit meets safety standards and reduces fire hazards. They may also require inspections after installation.
Failing to get a permit can result in fines or having to remove the fire pit. It’s better to be safe and compliant from the start.
Safety Tips and Maintenance for Your Fire Pit
Safety is critical when using a fire pit. Follow these guidelines:
Keep a fire extinguisher or water source nearby.
Never leave a fire unattended.
Use only dry, seasoned wood or approved fuels.
Avoid using flammable liquids to start the fire.
Maintain a safe distance from the fire pit when sitting or standing.
Clear the area of leaves, debris, and flammable materials.
Regular maintenance keeps your fire pit in good condition. Clean out ashes after each use. Inspect bricks or stones for cracks or damage. Replace any worn parts like fire rings or grates.
Cover your fire pit when not in use to protect it from rain and debris. This extends its lifespan and keeps it ready for your next gathering.
Enhancing Your Fire Pit Area for Comfort and Style
Once your fire pit is installed, consider adding features to enhance the space:
Seating: Arrange chairs, benches, or built-in seating around the fire pit.
Lighting: Add soft outdoor lighting for ambiance and safety.
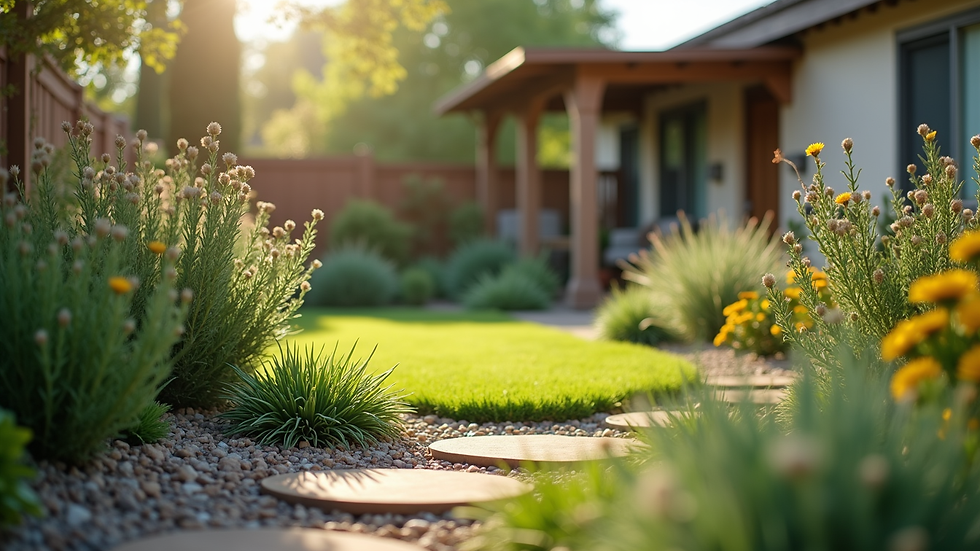
Landscaping: Plant drought-tolerant shrubs or flowers nearby for a natural look.
Accessories: Use fire pit tools, spark screens, and cooking grates for versatility.
A well-designed fire pit area becomes a focal point of your backyard. It invites relaxation and socializing year-round.
If you want expert help with your project, consider professional services. For example, fire pit installation san diego offers custom solutions tailored to your outdoor space and style.
Creating Your Perfect Outdoor Gathering Spot
Installing a fire pit is a rewarding project that adds value and enjoyment to your home. By following this step-by-step guide, you can build a safe, attractive fire pit that suits your needs.
Plan carefully, follow safety rules, and maintain your fire pit regularly. With the right approach, your backyard will become a warm, inviting place for memorable evenings.
Start your fire pit installation today and enjoy the glow of a well-crafted outdoor fire feature.


Comments